
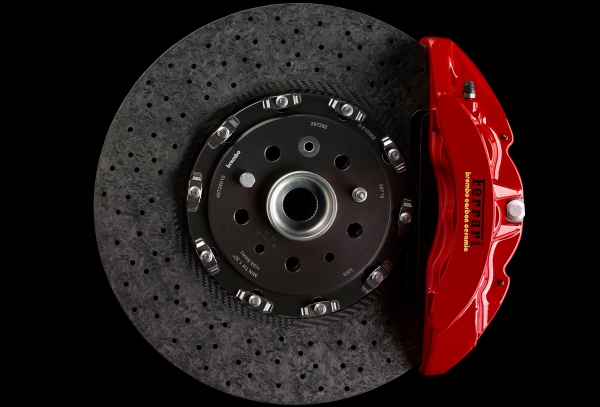
It’s time. I got lucky when swapping rotors and pad on the front Brembo brakes of the STi after over-torquing the brake caliper mounting bolts. However, one of the caliper mounts was almost threadbare. I was able to bolt it back up and get it to torque; but, I wasn’t confident. Using anti-seize was a short term solution. There had to be a better, permanent fix. Helicoil or Time-Sert? Many swear by Helicoil; but, for parts that matter, parts that require confidence and torque, Time-Sert with its sleeved design is the better answer.
Tools Required:
- 12mm flare nut wrench
- 12mm socket for banjo bolt (union bolt)
- 19mm socket for caliper mounting bolts
- Rubber stopper for brake line
- 31/64 metal drill bit (unless you have metric 12mm)
- 1/2″ electric drill
- 1/4″-1/2″ tap
- Car jack and stand
- Bench Vice (optional but recommended)
- Torque wrench
- Safety Glasses
Torque Specifications:
- Union bolt (banjo bolt, brake line to caliper) 19.2 ft-lbs
- Caliper to Caliper Mount, 80 ft-lbs (remember, the manual is wrong!)
Required Parts:
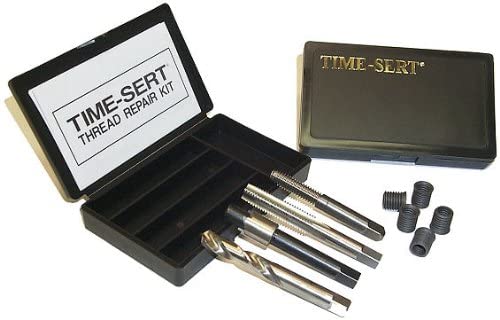
- Time-sert Metric kit M12 x 1.5 part# 1215 (barcode=X0013XGBT3)
- M10x16x1mm copper washer (quantity 2 per caliper, 4 total)
- Brake cleaner
- Motor oil
- WD-40
- Permanent loctite
- Shop towels, rags, cardboard (brake fluid is messy and can ruin paint jobs)
Procedure:
- Turn the front wheels in the opposite direction of the caliper you are going to be working on
- Lift front side of car
- Remove wheel
- Remove brake pads and retention hardware (mark on cardboard which is inboard and outboard, cover and move out of the way to keep clean)
- Thoroughly clean caliper with attention to the brake line fitting
- Remove banjo bolt and plug brake line with stopper
- Remove caliper bolts and remove caliper from assembly
- Tape up brake line hole to keep foreign debris from getting in the brake system
- Install Time-Serts (more on that in a minute)
- Reinstall caliper using new caliper mount bolts
- Remove tape
- Reinstall brake line using two new copper washers surrounding the brake line fitting (bolt, washer, brake line, washer into caliper)
- Torque brake line and caliper bolts
- Reinstall brake pads
- Bleed brake caliper (watch your reservoir)
- Reinstall wheel
- Lower car
Notes:
Installing a Time-Sert is a four step process. You must 1) bore out the hole, 2) counterbore said bored hole, 3) tap the hole with threads and 4) install the Time-Sert sleeve. The kit mentioned above has everything you need plus five Time-Sert sleeves or enough to do this job. As always, there’s a catch.
To bore out the hole, Time-Sert sends you a M12 (12mm) bit; but, the bit is made for a 4-sided tap and not a standard drill. Full stop, if you try to used this bit in a drill, it will wobble so badly that you will destroy the caliper and be unable to repair using a Time-Sert. Living in the US of A, finding a metric drill bit is impossible. Fortunately, Time-Sert bails you out, http://www.timesert.com/html/engineeringdataM.html, says you can substitute a 31/64th drill bit to bore out the hole.
To watch a pro at a machine shop show how it is done, watch this YouTube:
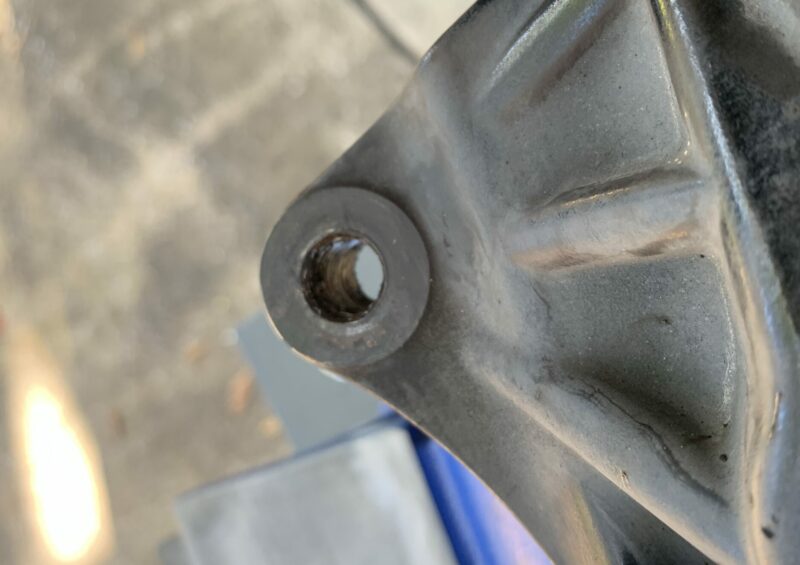
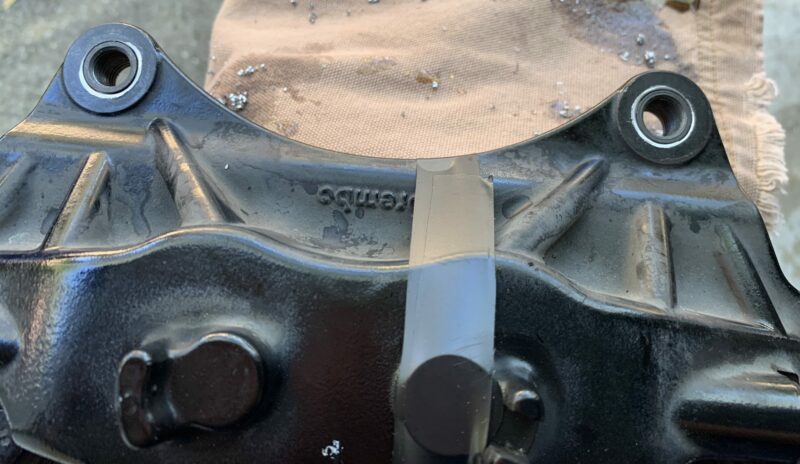
While I lack the machinery of this guy, I set up a bench vice, used cardboard to protect the caliper and locked it into place. Here’s the caliper with damaged mount holes.

As you can see, there’s basically no thread in the left ear. Time to bore it out with that 31/64th drill bit. Aim straight, bore slow.
Before:
and after:
Note the WD-40 in the background. I lubricated each step of the way. The Time-Sert instructions demand the use of 30w oil for the final step and I compiled using 5w-30 motor oil. Also note that I cleaned using brake cleaner and shop towels after every step so that there was no residue. I wanted the Time-Sert insert to be in contact with the caliper in the cleanest way possible. Remember, any lubricant will act like anti-seize compound and it no longer is about torque but squeeze. I wanted torque in this instance.
After boring, time to counterbore. The pic shows using a tap, but I used the drill because the counterbore fits down into the hole and therefore, I wasn’t worried about the hole diameter.
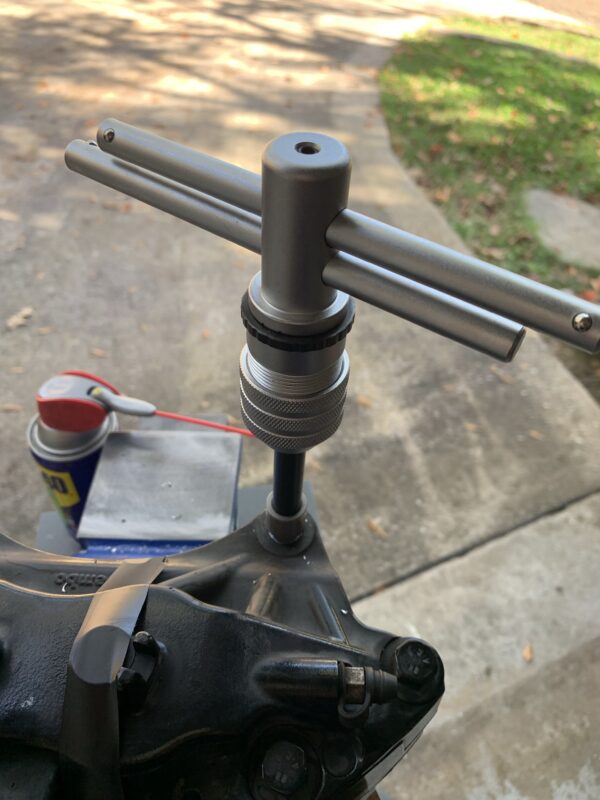
Tapping the hole came next. Using the ratchet tap, I took my time, went slow and again, lubricated with WD-40. I wound the tap till about half was showing below the mount ear and then unwound it back out. It came out really easy. Remember to clean to remove the WD-40 and debris!
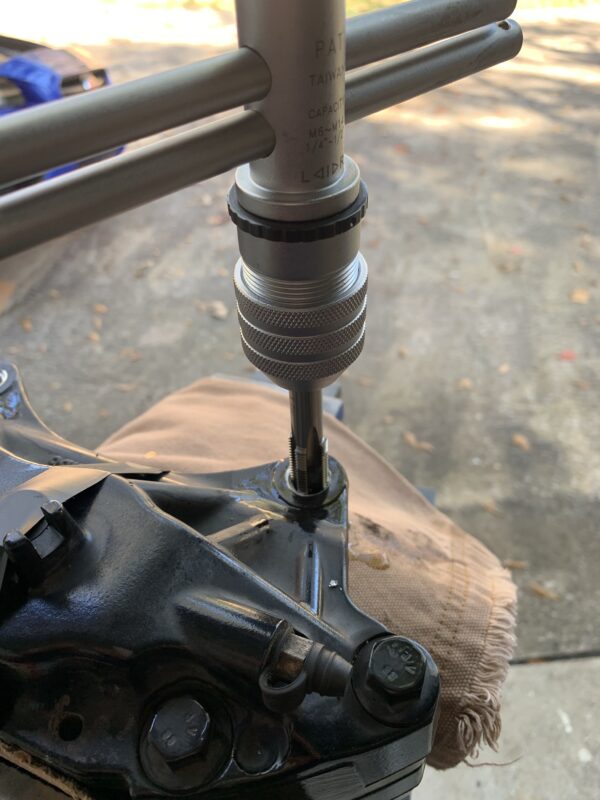
Finally comes inserting the Time-Sert sleeve. Time-Sert demands oiling the bit before inserting. I first installed the sleeve into the tapped hole about three to four turns after applying a couple of dots of loctite to the outside of the sleeve (not too much). Then, I screwed the oiled bit into the sleeve and kept going. The bit eventually grabs the sleeve and drives it home into the ear. Continue to tap with the bit as the bit is designed to stretch the sleeve into place. Again, I drove the bit about 2/3 beyond the bottom of the hole and then screwed it back out. The sleeve stayed in place perfectly!
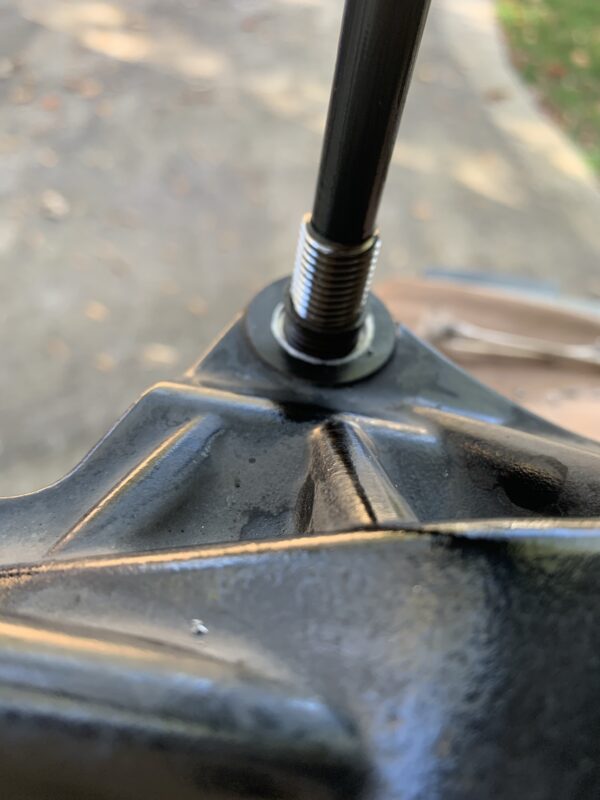
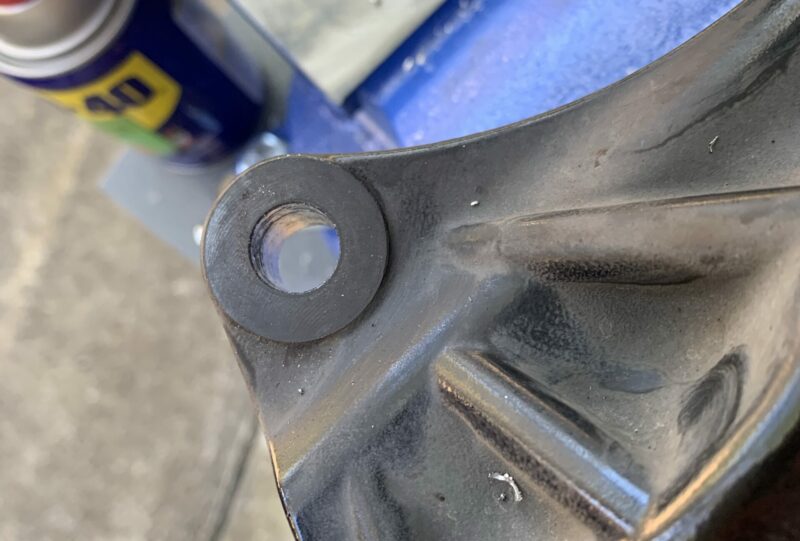
Here’s a picture with the new Time-Sert sleeve with the Subaru bolt started in place, a perfect fit.

Do the other mounting hole while you are there. Same steps.
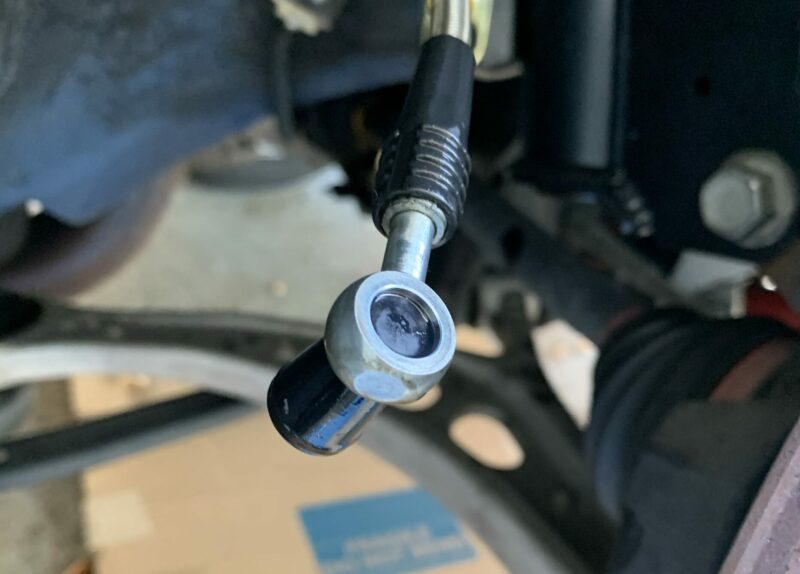
Here’s a picture of the brake line with the stopper in place to keep air from getting into the line. It still makes a mess. So I have cardboard below to soak up the fluid. The excess gets mopped up with some paper shop towels. Wash your hands if you aren’t wearing protective gloves.
Good luck and take your time.